
Almost every website uses some form of popup software.
Which means, if you are blogger and you are reading this post, you most likely already have popup software on your website. Or at the very least, you are considering adding one!
Popup software drastically increase conversions, brings you more traffic and makes you more money.
But which Popup Software should you use?
Back in 2010, we were one of the first blogs to add a popup to our website.
The single addition of Popup Software brought us more conversions and more subscribers than anything else we had ever done before.
And it remains the case until today.
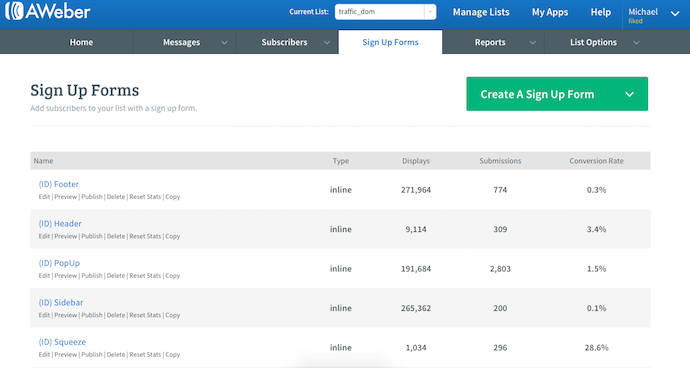
As you can see from the screenshot of our Aweber account, popups accounted for 63.9% of all new subscribers to this blog!
Recently we reviewed the various Popup Software alternatives available.
What we had was working well, but could there be some other alternative that would squeeze a few more percentage points when it came to conversions?
After all, there are always improvements to be made!
We began by looking at all the popular popup software alternatives, reading reviews etc – going from one sales page to the other.
In the end the deciding factor was not functionality, frankly most of them all do more or less the same thing.
Instead, what we focused on as the popup software that gave us the best design options. Our experience is that design is the single biggest contributory factor in the success of a Popup.
From a short list of three we finally settled on OptiMonk.
This is a tool I have seen a few times over the years – it is not as popular as some but it had always came across as a higher end product.
How I Want To Use PopUps On IncomeDiary
As popups have been around for quite some time, they have become less well received. A lot of people close them without even thinking. So I wanted the popups to compliment a users experience, rather than focus all my attention on getting someone to subscribe. Here are the 4 main popups I will be using on this website:
Main Exit PopUp
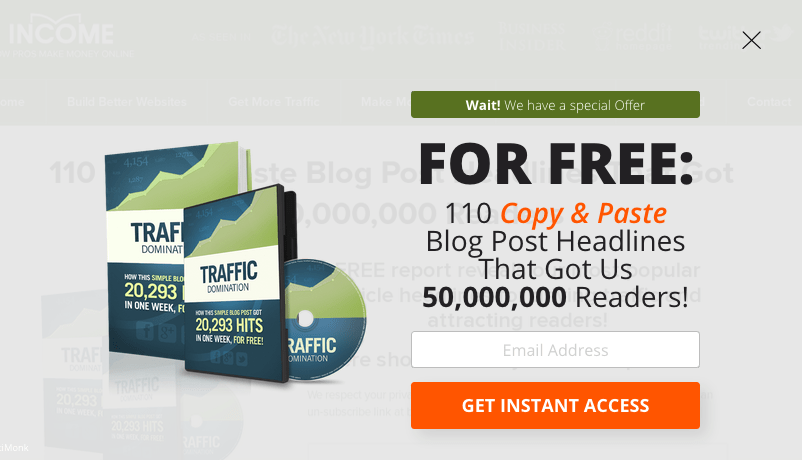
This popup will be used to promote our free Traffic Domination report.
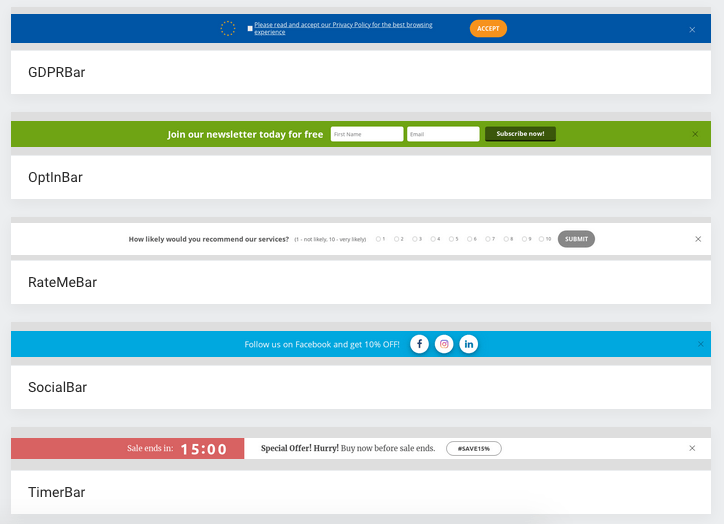
GDPR Bar
You need to ask users to read and accept your privacy policy. This popup takes care of that. Most websites choose to display a bar all the way across the footer of their site. Read our GDPR guide.
Onclick Subscribe PopUp
Sometimes users will close a popup and decide they want to subscribe later. In the footer of IncomeDiary, I wanted to link to a popup so that you can subscribe any time you like.
Followup Sales PopUp
I wanted a popup that could be shown after the main popup has been seen twice and won’t be shown again. This popup, instead of using it to get subscribers, will be used to redirect users to a sales page or monetized blog post.
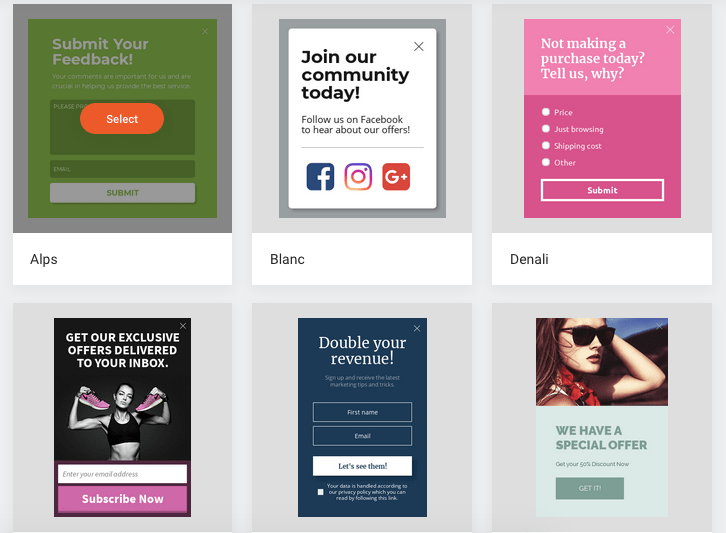
Getting Started With OptiMonk PopUp Tool
To begin with, I took their two week free trial, which comes with 40,000 free views. I didn’t need a credit card and it took a few seconds to get started.
Before you get started, you need to let them know what domain the popup will appear on (you can choose two websites) and you need to add some code to your website so your popup can be displayed. I did this by using their free wordpress plugin. This took me less than 30 seconds.
OptiMonk Review – Create Your First PopUp Using OptiMonk
This is where the real fun starts and I was surprised by how far software has come in the last few years since I had last reviewed different solutions. It was almost as if I didn’t have to think at all, it really was a breeze going through their popup builder.
I began by scrolling through their popup designs.
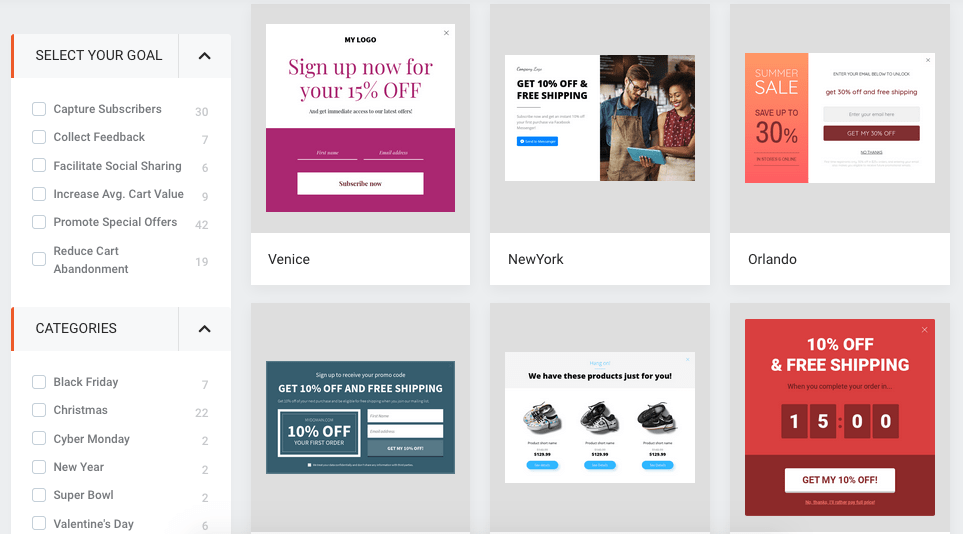
I ended up choosing their Oxford design because I wanted to include an eCover image and I could already see how it would look.
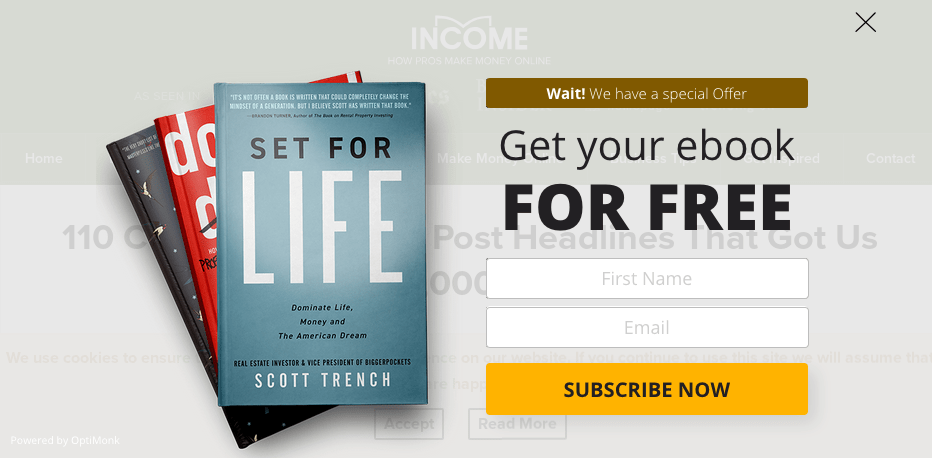
Next, I went ahead and started customizing it so that it fitted in with my current blog design.
I used the same orange and green from my blog. After a couple minutes of editing, the popup looks like it was custom designed for my website. This was important to me. I like consistency and want everything on my website to match.
In this second popup I created, I was able to drag and drop check-boxes for GDPR.
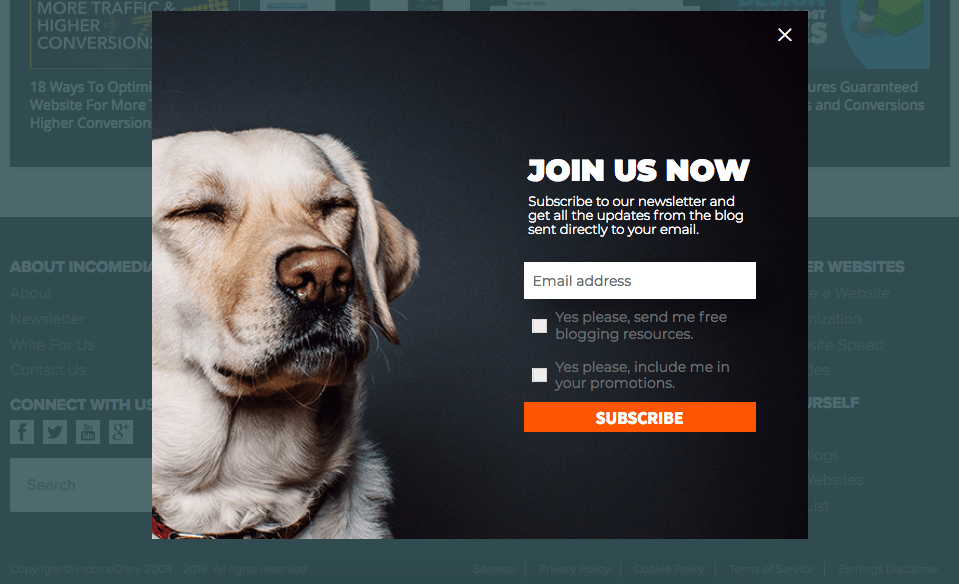
Once you have finalized your design, you need to choose when to show your popup. I decided to have it appear when someone is about to leave the website. (Exit Popup) I felt this was the least intrusive way of displaying popups.
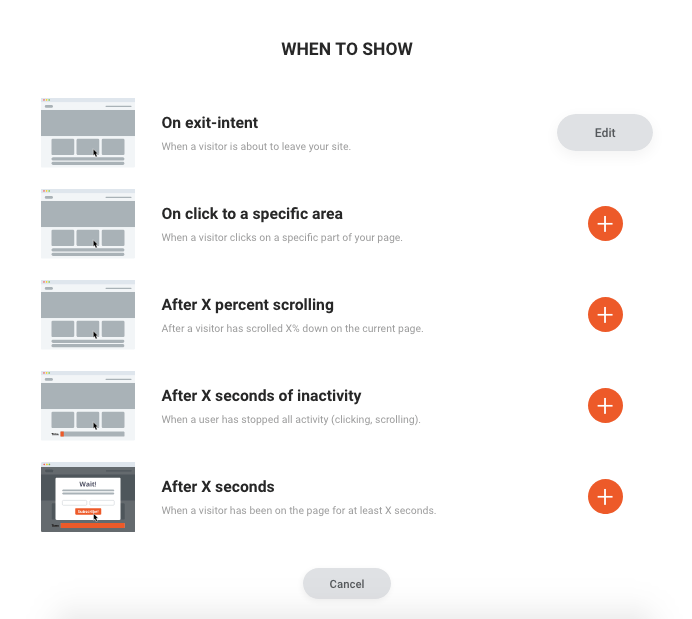
After that I had to decide on the conditions for displaying my popup. I chose their default settings which was to show the popup twice, with at least 1 hour between each view.
I thought this was an interesting feature. One that would not only give a better user experience but increase the chances of getting someone to subscribe. A lot of website visitors will come and visit the site, then leave and will never return. This is why it’s important to try get them to subscribe, so you can get them to come back.
However, most people don’t want to subscribe for another email list… not at least without spending more time on your website first. So most people will decline the first offer. But those who remain, or come back to your site, are far more likely to subscribe.
So with this conditioning, you are able to have two chances at convincing someone. Those who only visit once, as well as those who decline your popup because they haven’t had enough time yet to realise they like your website.
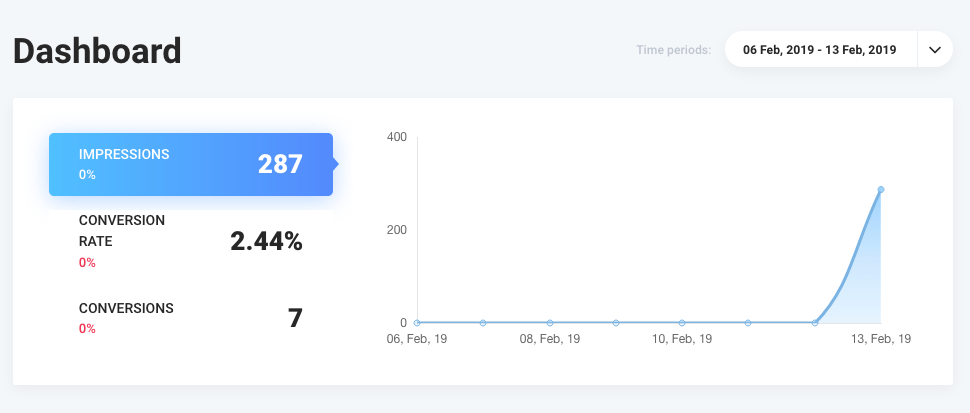
And there you have it, the popup is live!
Within minutes I already had my first few subscribers!
They also include something they call Nanobars, which is a bar across the top of your page. Great for GDPR.
As well as, sidebar opt-in boxes.
OptiMonk Review – Getting Started Right Now
Here’s what we use:
- Aweber to collect, store and send emails.
- OptiMonk connected with Aweber to display popups on our blog.
- TermsFeed for our privacy policy template.
Further reading:
No comments:
Post a Comment